Thursday, January 31, 2013
Aqua Brandon
The steps to this project were to type out the persons name, change the inner glow, the outer glow, the inner shadow, and the gradient overlay. The steps taken with the bubble was to make it ang change the fill and the inner shadow. The steps taken for the outer dark glow of my name was to copy the letters change there fill and to create a outer glow. I personally hated the project, it was a lot of tedious work.
Tuesday, January 29, 2013
Inner ME
This was a fun and at the same time difficult project. My shadow is a character from my favorite game "Steve" from minecrat. I created this by changing the color of the character to black and changing the opactiy of it. I created a displacememt map for the shadow so it looks like it is indienting into the wall. I also took a picture of my self for the picutre of me and placed it and changed the images ( background, Steve, and I) to a black and white image. I used a layer mask for the feet to connect to mine. I also added type to show what I am at heart.
These are my source images.
Thursday, January 24, 2013
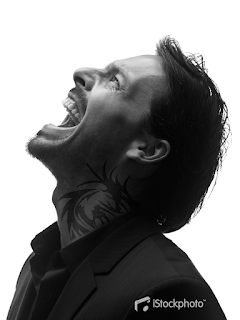
Tattoo displacement
This project was rather diffucutl. The tools used were the warp tool, the layer mask tool, and the displacement tool. The hardest to use was the displacement tool and that was becasue of the positioning and choosing the right thing. The eaisest was the layer mask becasue I am so comfortable with it.
Tuesday, January 22, 2013
Cranes & Flowers
This projet was really hard. The tools used were the shape tools, layer mask, resizing tool, and the opacity tool. The hardest tool used was the layer mask tool because it was hard to use correctly. The easiest was teh opacity tool.
Wednesday, January 16, 2013
Composing with Silhouettes
Tuesday, January 15, 2013
Montage
In this project the tools that were used were the vector layer mask, the brush tool, and the opacity tool. The hardest thing to do in this project was to make the people like up and look good. The easiest too use was the opacity tool. I liked this project because it was easy.
Monday, January 14, 2013
Polaroid Effect
The tools used in this project were the hue/saturation tool, the gradient tool, the filter tool, opacity tool, and the rectangle tool. The hardest tool to use was the hue/saturation tool because of of what all you had to do. the easiest was teh opacity tool. This was a not too hard and fun project.
Thursday, January 10, 2013
Selecting Soft Images, Edge Define Tool
The tools used in this assignment were the selection tool and the refine edges tools. The step I had to do was select the dog make, make sure all the hairs were selected, and change the background saturation. The harder tool to use was the refine edges because of the areas and special steps you had to use. This assignment wasn't too hard to do just a lot learned and how to use the tool.
Tuesday, January 8, 2013
Veggie Head
This project was not too easy. The tools used were the crop, lasso, move, magic and marquee tools. the hardest tool to use is the lasso tool because it is difficult to get the lines right. The easiest to use was the crop tool because it was just like re-sizing a box.
Subscribe to:
Posts (Atom)


